rocking chair repair
the chair
this was a thrift store find. a little higher than i’d like to pay ($30), but some part of me knew if i didn’t, it might not get rescued the way i felt it deserved. besides, what hermit doesn’t need a dusty old rocking chair?
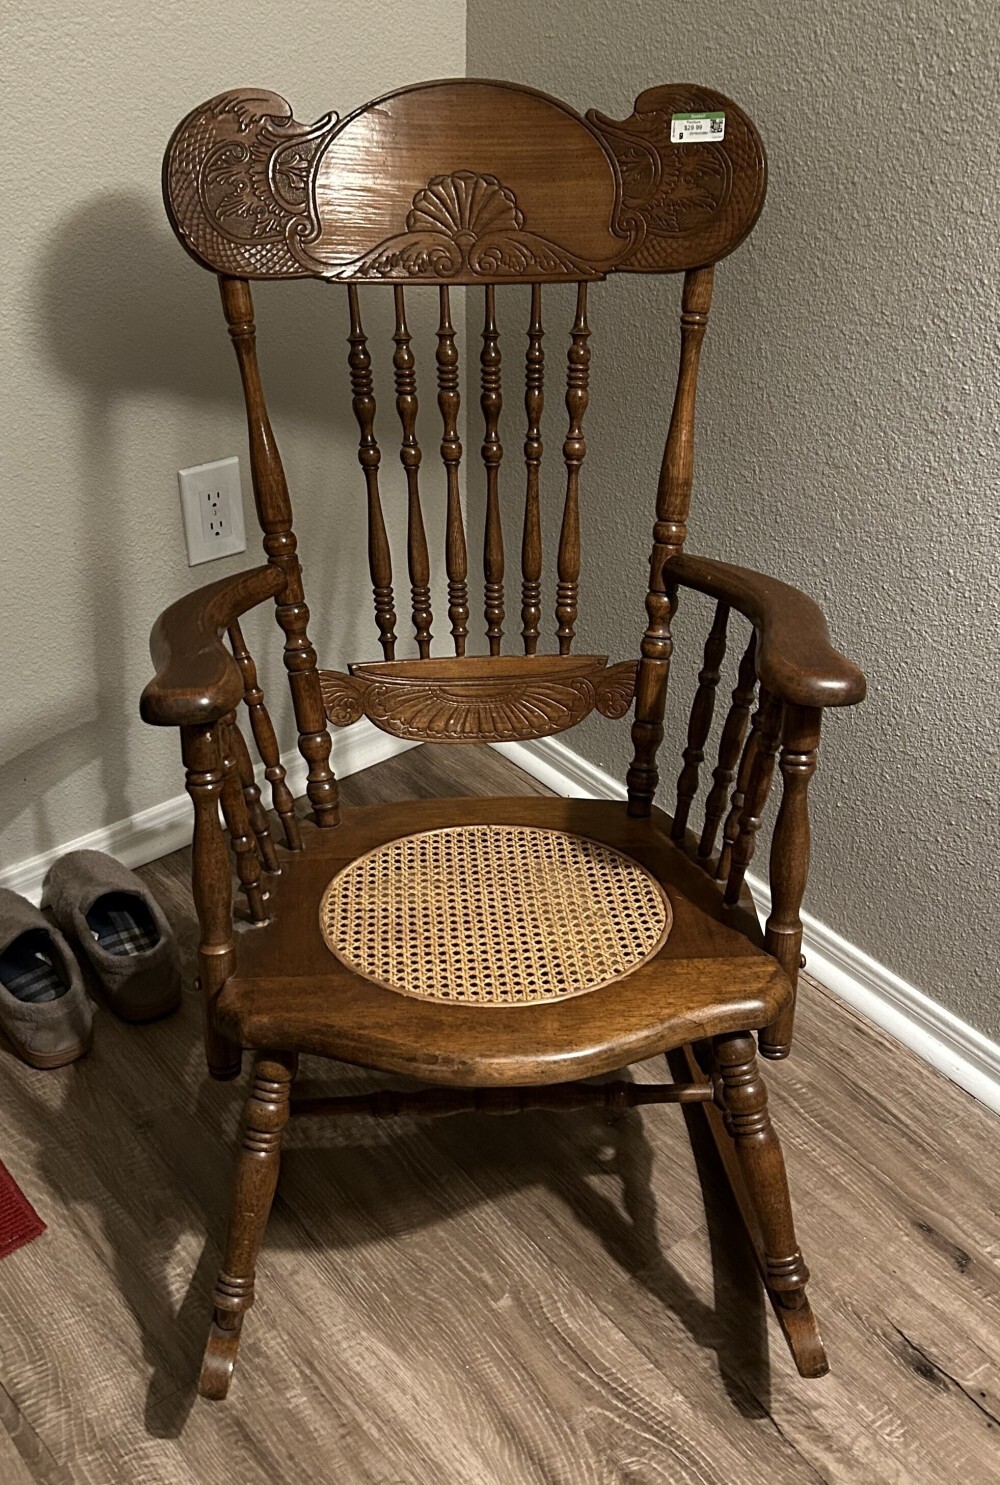
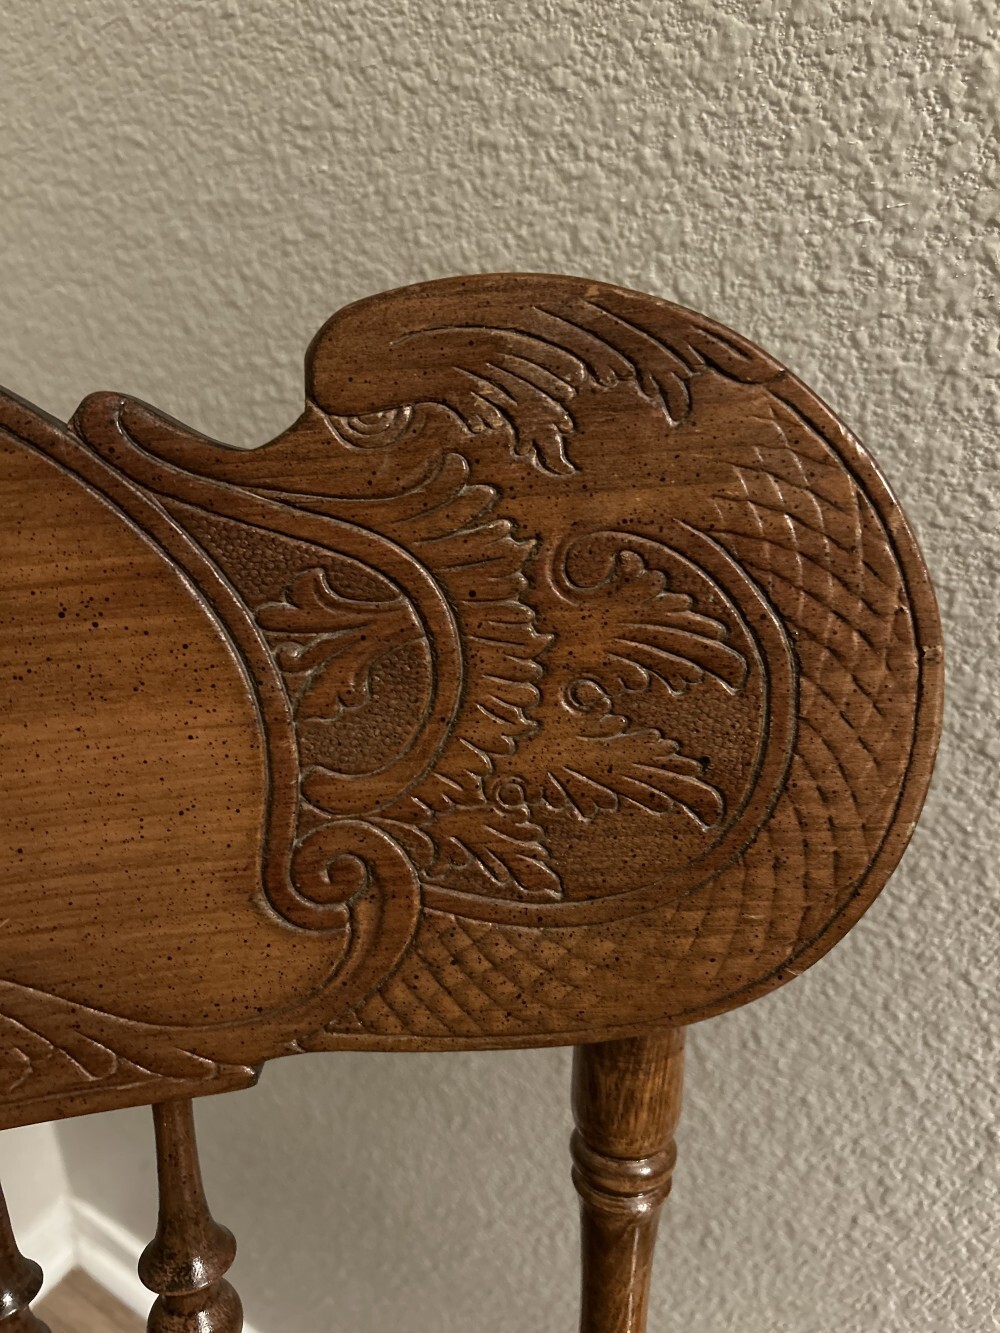
certainly one part that drew my eye was the remarkable relief carvings on the top of the chair.
the problem: it was remarkably wobbly. no broken pieces, but it was one or two sits away from turning into firewood. i knew this before i purchased it; i decided to go ahead with it anyway, and make a good project out of it.
the plan was to disassemble the chair, sand and scrape away the old glue from each mortise and tenon, and then reassemble with fresh glue. all pieces beneath the seat were fairly stable, so it was only the top portion that needed regluing.
disassembly
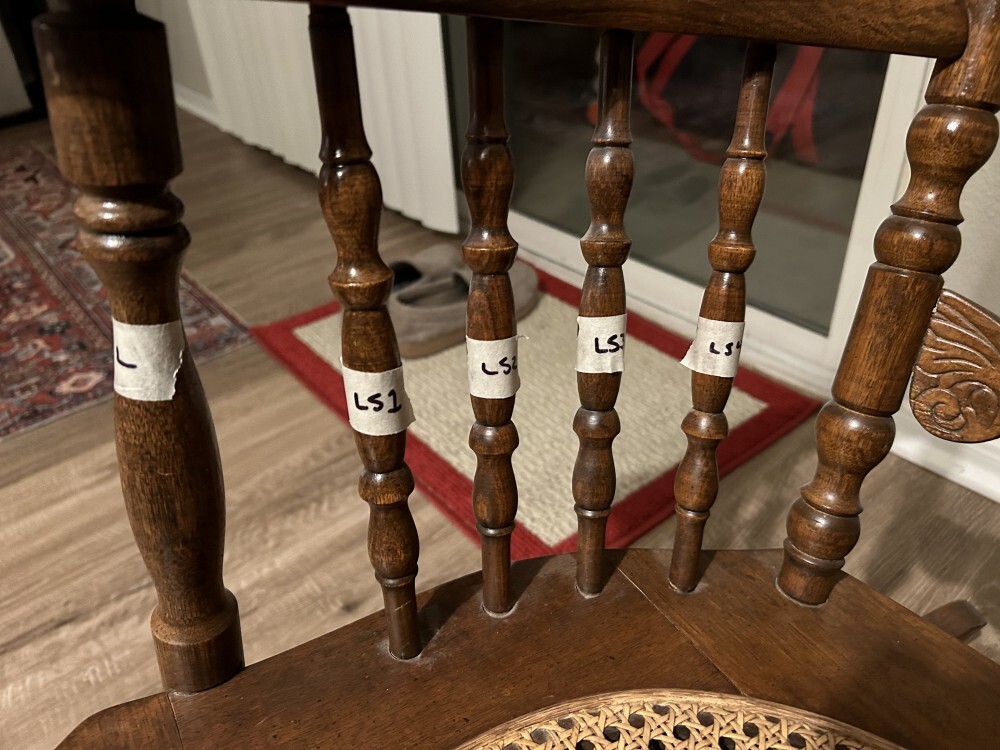
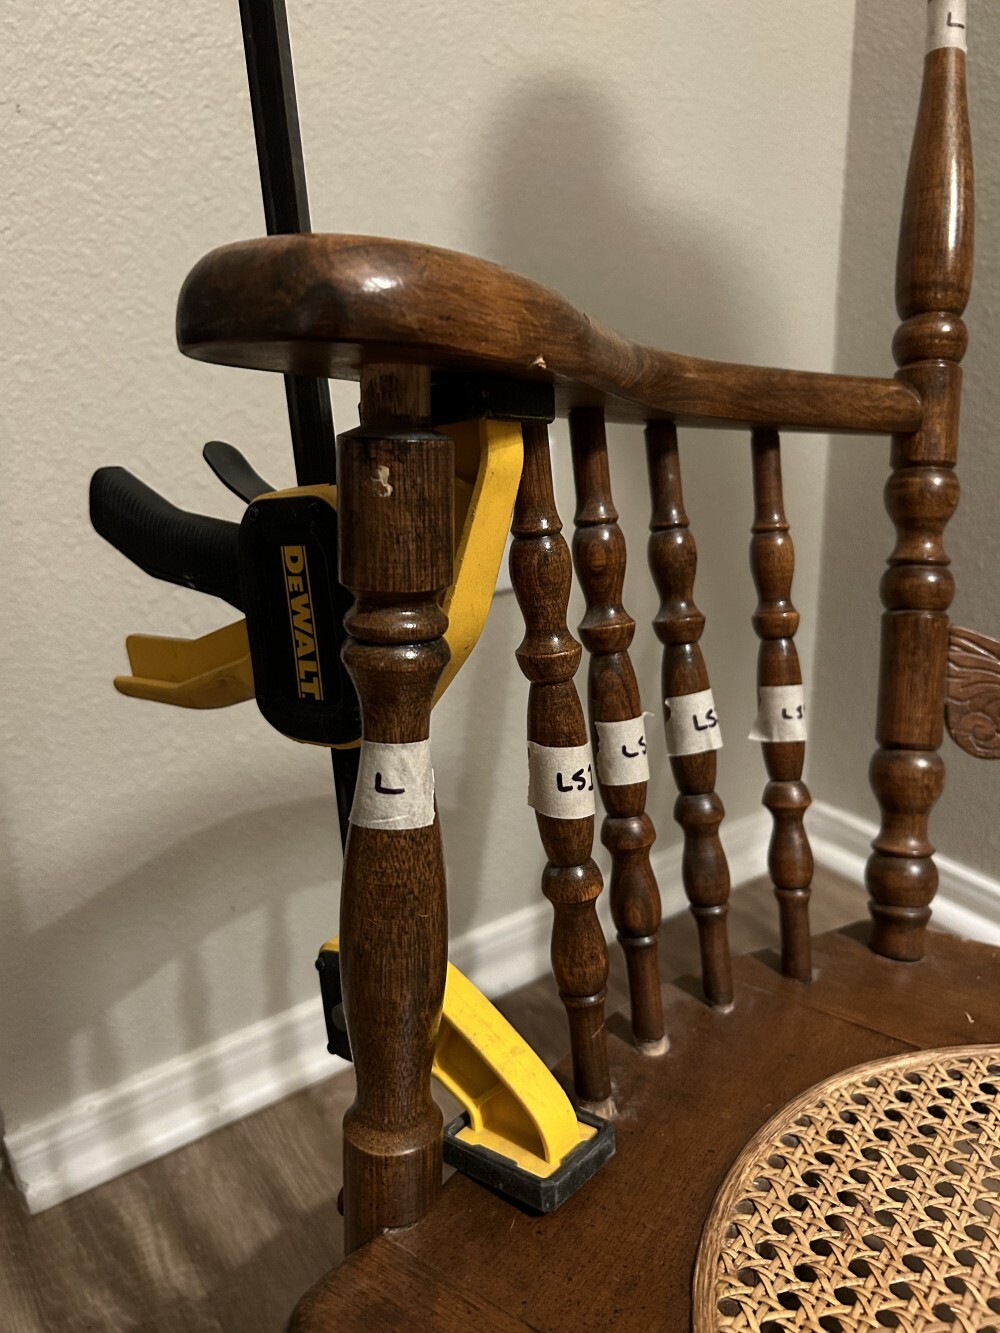
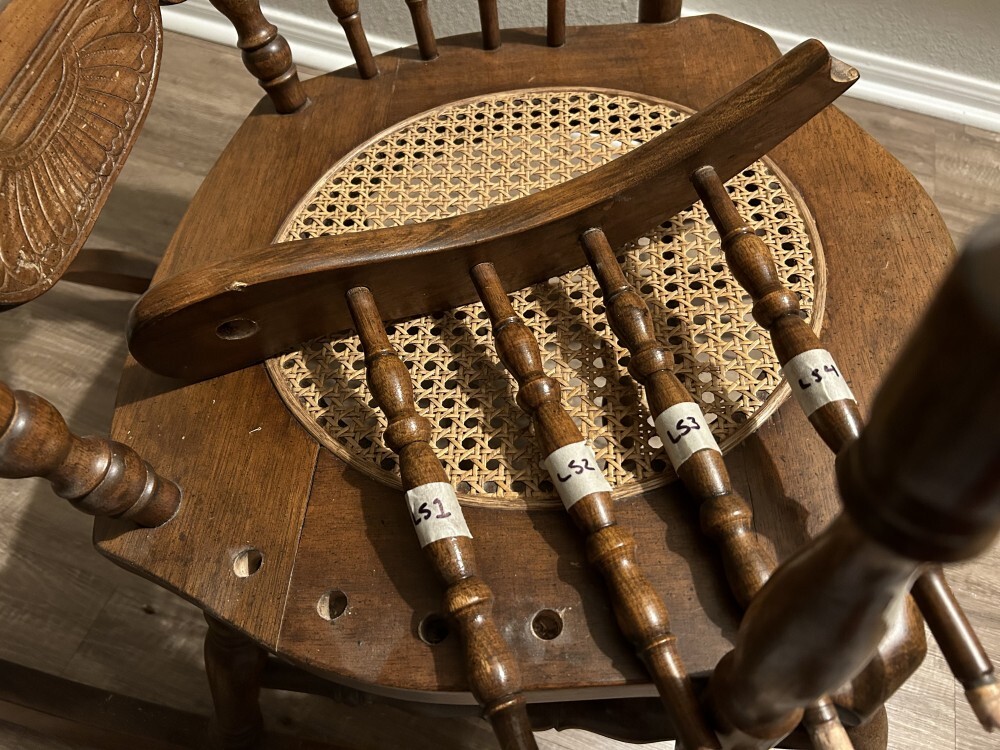
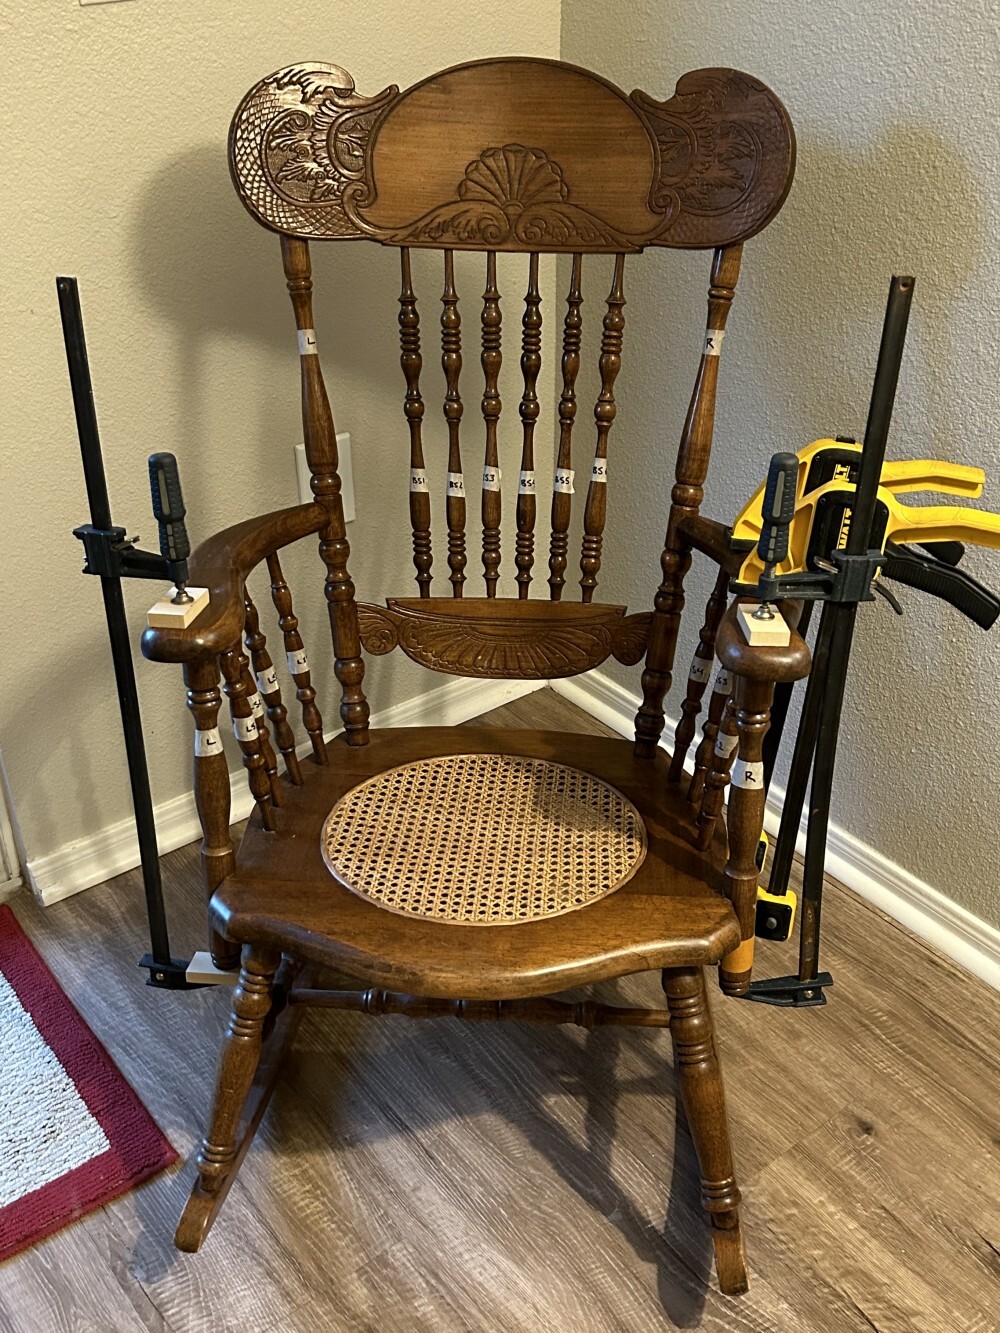
i began by labeling the pieces.
there were some wooden mushroom-shaped button caps intended to cover screw holes, so i suspected there was screw joinery. i wasn’t able to salvage the caps, but they are easy to acquire - matching the color will be the trick.
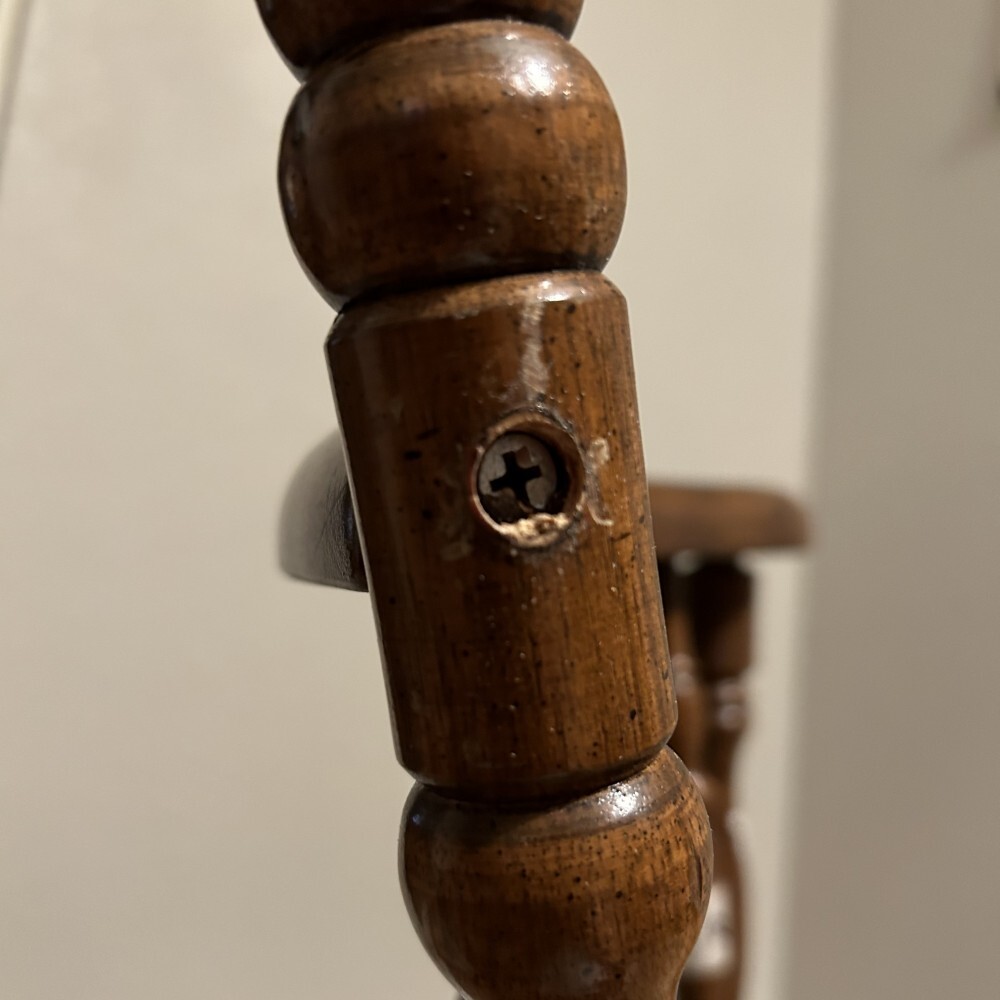
screws-as-joinery tends to fight the wood rather than work with it. wood is a porous material, and is susceptible to changes in humidity: it expands and contracts. metal fasteners like screws and nails do not, so they act as a hard point, causing the wood to move around them in unpredictable ways - but usually pinning the wood in place such that it cannot come back to equilibrium. wood glue is more pliable than you’d expect, and can accommodate expanding and shrinking wood fibers - especially if the joint is not perfectly tight. a mortise and tenon should have allowance for the thickness of the glue, or you can experience hydraulic lock.
the butt joint as pictured above is a fair candidate for a screw. even better would be a wooden dowel or two. the end grain fibers of the wood soak up too much of the wet glue, leading to a weak joint when it dries.
this screw was easily undone; then i carefully applied a stretcher clamp next to each joint to gently separate the spindles apart from the underside of the armrest.
i suspect this chair had an attempted repair at one point in its life: two of the screws were severely stripped out and the heads were unturnable. i had to drill these out carefully and use a screw extractor (a sort of tapered double helix that fits into a tap handle) to remove them. i also noticed a gap-filling glue, which is not structurally sound for load-bearing joints. it may fix the wobble until you sit on it: this type of glue simply foams up to fill the gaps!
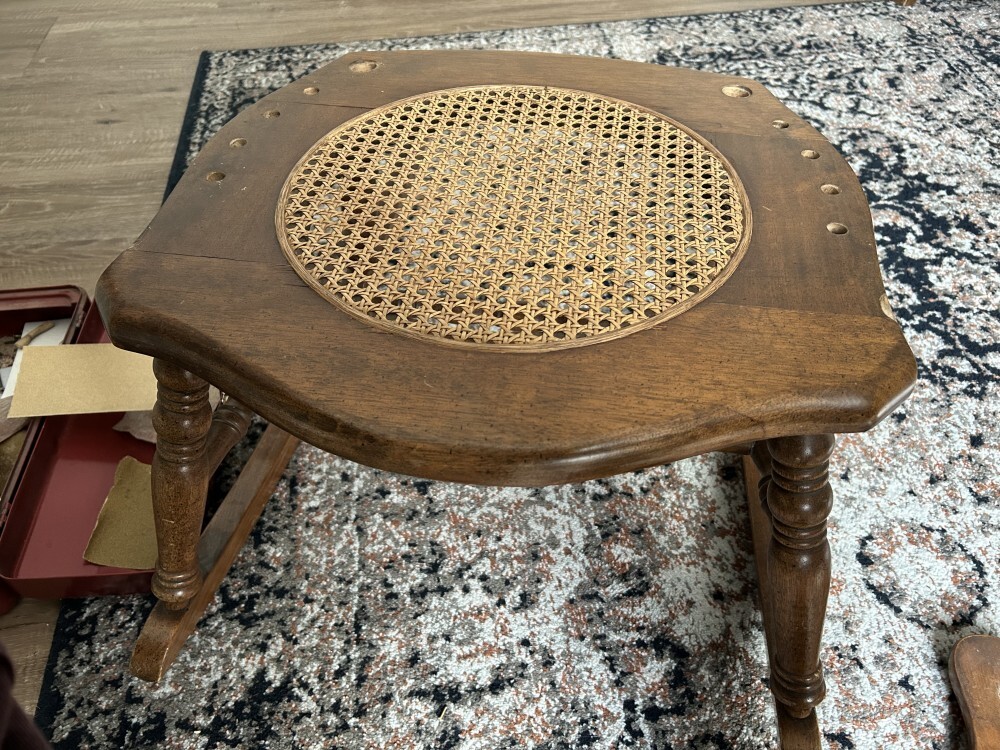
the base of the rocking chair felt oddly naked. technically, this is now a rocking table.
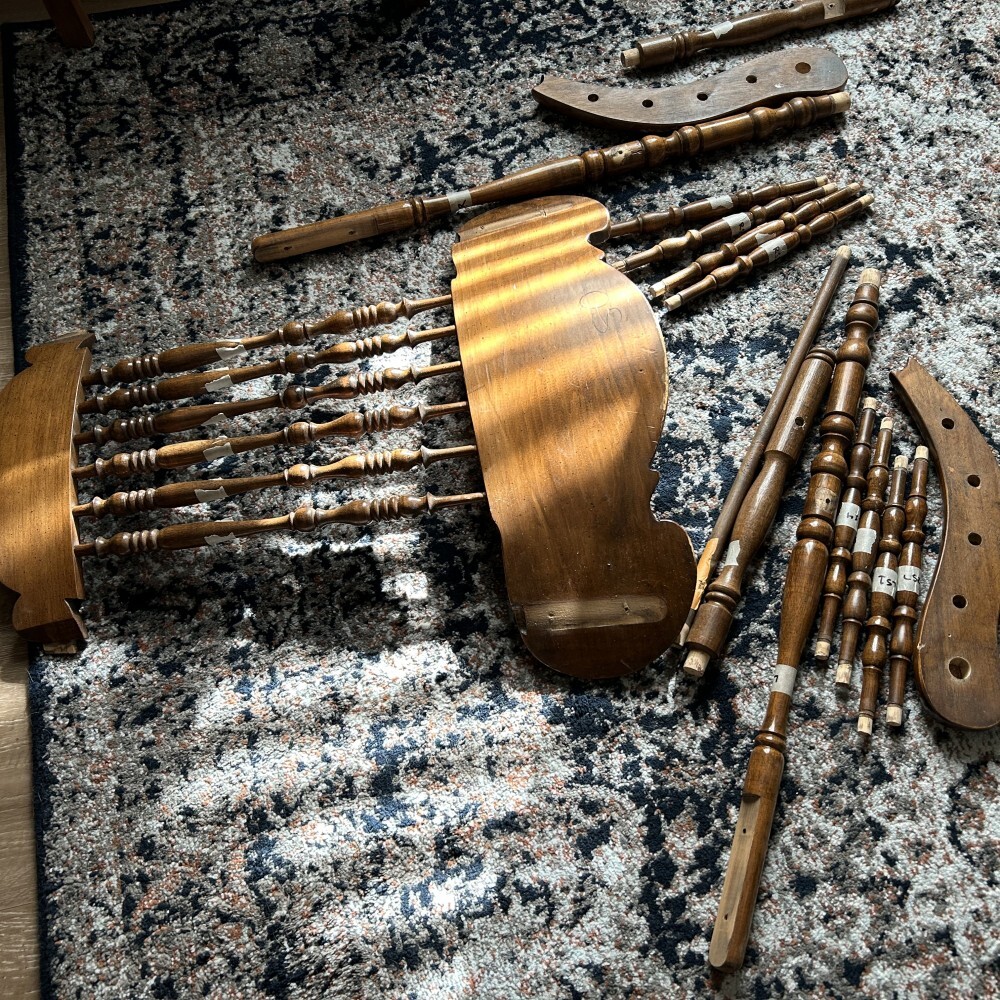
not pictured: sanding the ends of each tenon (the name for the dowel-like-piece of the joint at the end of the stretchers) and the insides of each mortise (the name for the holes on the underside of the arm, tops of the seat, etc). it’s difficult to take a picture while sanding and … it’s super boring. i sanded to 120 grit as i thought it wouldn’t remove much material, but not be super slow. and it’s coarse enough to give a good gluing surface as well - the microabrasions create increased surface area.
in between sanding, i took a trip to the hardware store to get some replacement screws. the posts attaching to the back of the headrest used a screw as well - no glue on that joint.
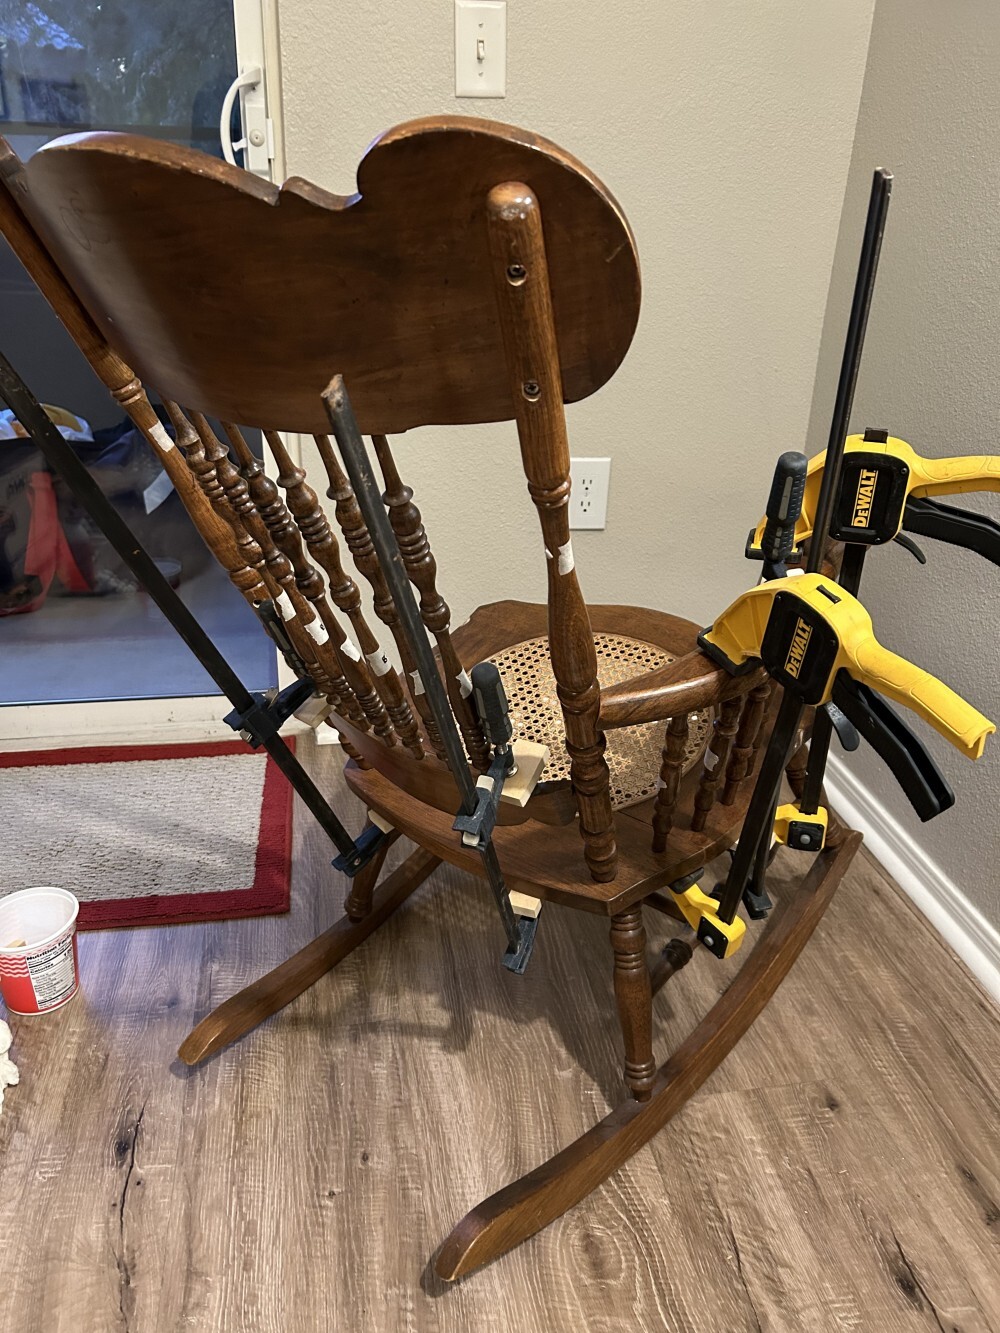
reassembly
i only have a few pictures of the process here, as once the glue is applied, the clock starts ticking. i was only able to snap a few once the clamps were in place.
phase 1 of the glue-up was one armrest plus one post of the seat-back. the post had to be clocked correctly to accommodate both the screw into the armrest and the bottom of the seat back; fortunately this was easy as i already had the screw to act as a guide.
before the glue was poured, i drilled the hole in the armrests slightly larger to accept the slightly thicker, more modern #10 screws - the original must have been a #9 or something like that? they were an odd size in thickness but otherwise a normal 2-inch screw.
i began by fitting the bottom of the post with glue, then the bottom of each spindle, mating into the seat. i brushed glue into the mortises on the underside of the armrest, then on each tenon on the tops of the spindles, then mated these pieces; finally screwing the armrest into the post until it was just barely mating, but not completely tight. i applied the clamps at this point, then fastened the screw to its final tightness.

phase 2 was the seatback. the tenons on the bottom member of the seatback are rectangular. this one was a bit difficult, so i don’t remember the exact order of events.
i started by affixing the opposing post with glue into the seat, rotating it to what seemed about right to accept the seatback. i screwed the headboard into the post that had the arm attached already. i then glued into the square mortise on the bottom end, on that same side. then the opposing square mortise received glue; i was able to ply this into place. from there, it was a matter of fastening the screws in the top of the headboard down.
essentially, i worked clockwise from the top screws on one side, to the bottom glue joints, up to the top screws on the side without the armrest in place.
i then applied clamps to the pinch the bottom board to the seat, so that the posts would be fully seated - my bar clamps were too short.
phase 3 was the final arm. this was roughly the same, though at this stage there was the front-most spindle/post that is screwed into the side of the seat, with a horizontal stretcher mating them. this had to be captured and was generally straightyforward.
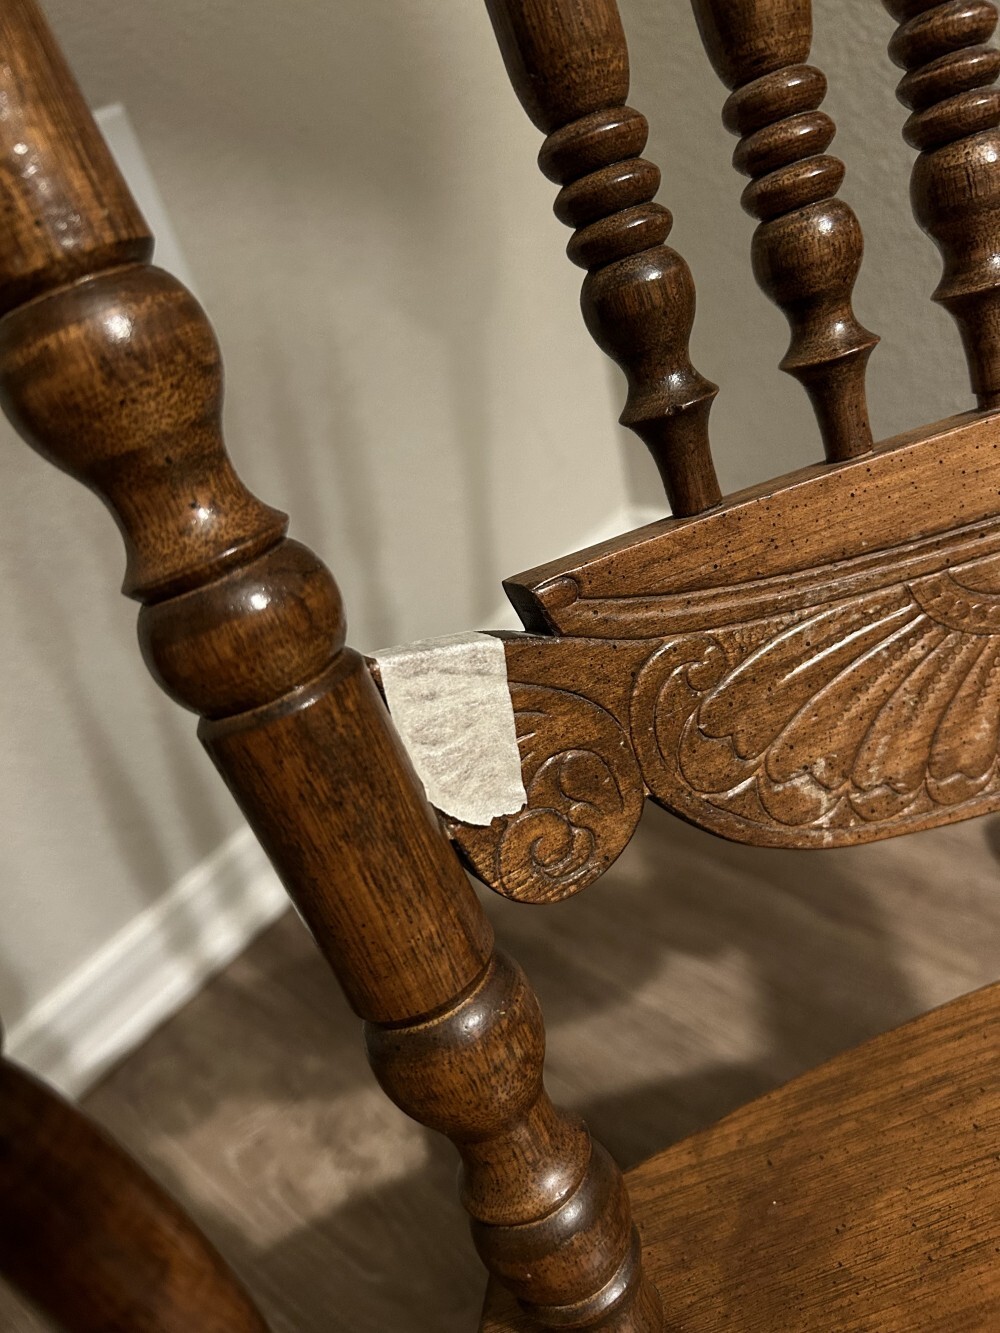
i waited about 24 hours. a splinter had come off on one side when removing the clamps from the seatback; this was easily repaired with superglue and tape.
the reveal
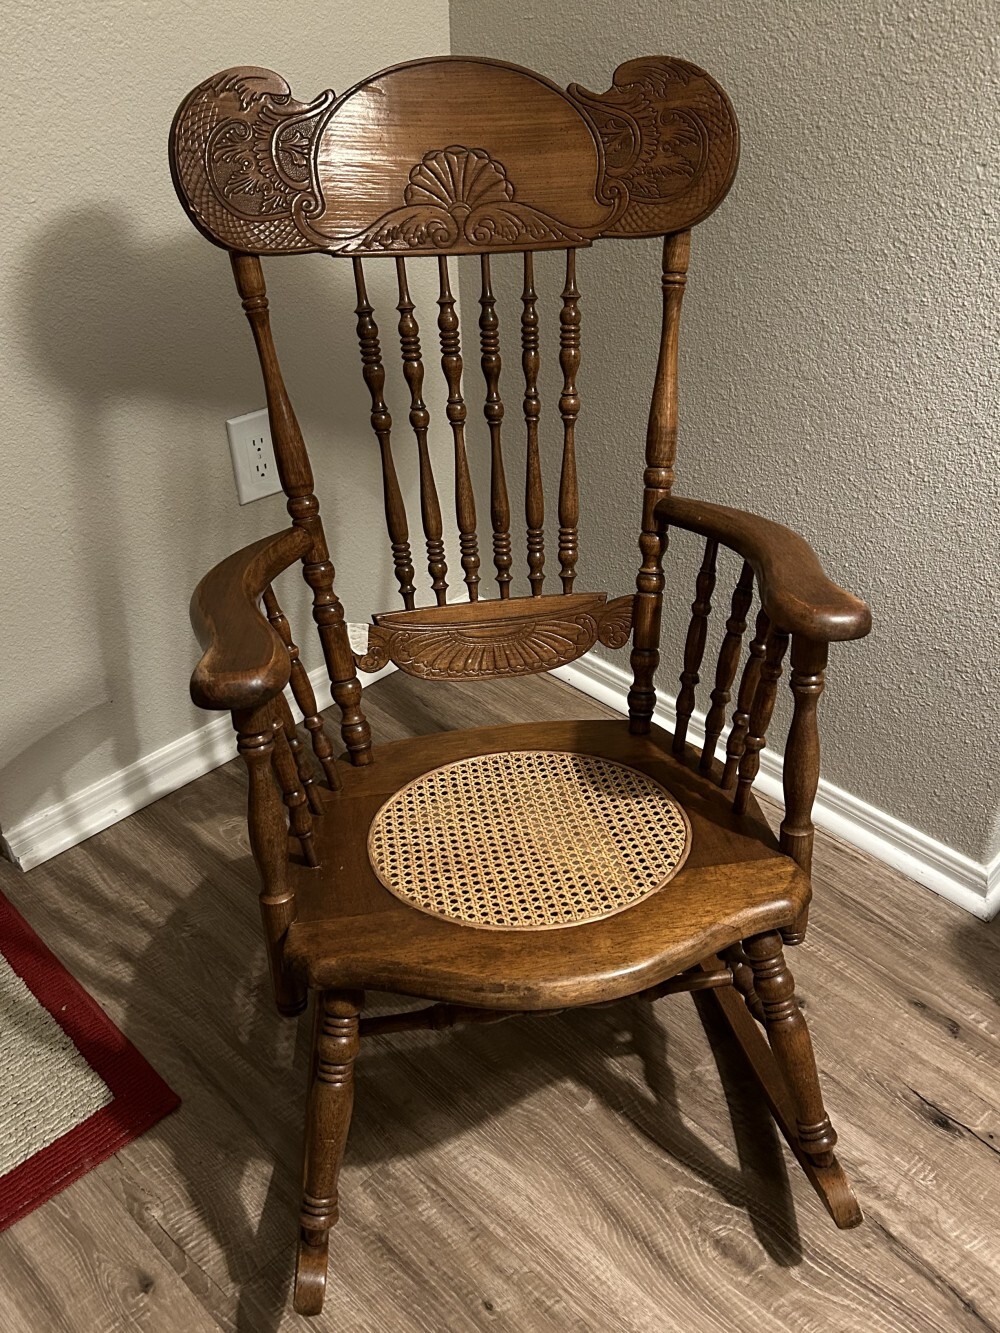 a handsome chair for a handsome hermit.
this was a fun project. i’m so glad i decided to go for it. it’s my new favorite chair (the cat has reposessed the old favorite chair).
it also rekindled my desire for woodworking, a hobby i don’t get to participate in so much, living in an apartment.
–hermit